Creating a Link127 Listing for Rent: Steps and Tips
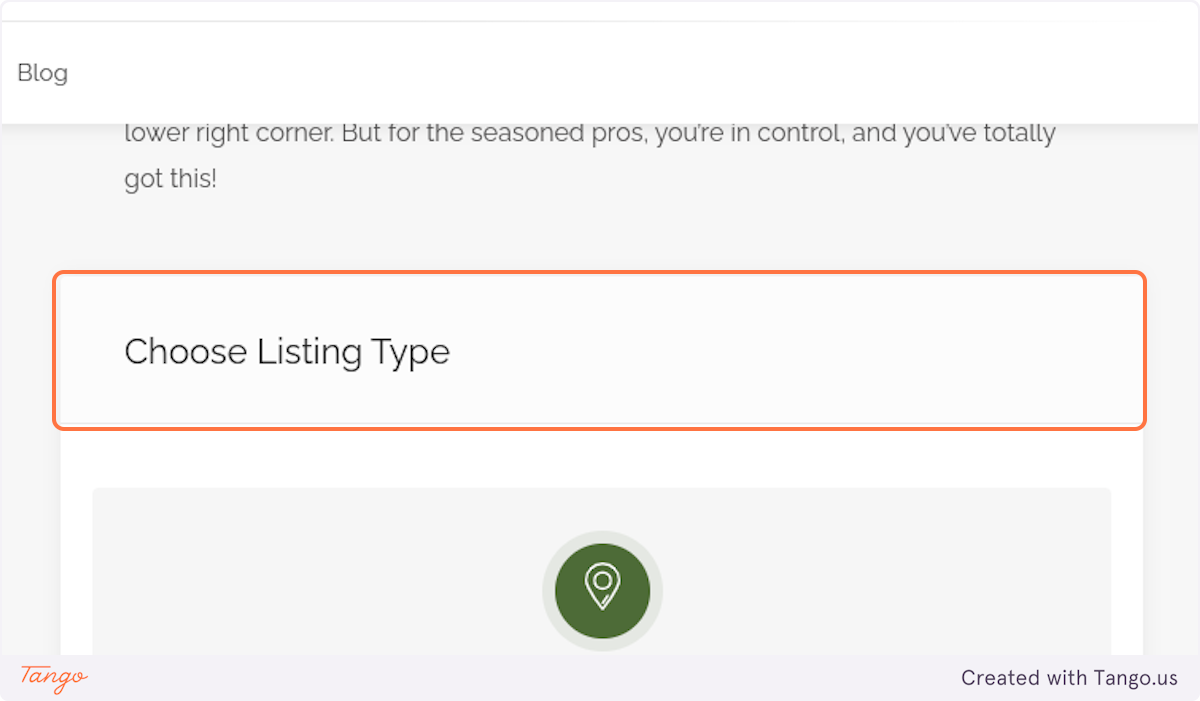
1. Choose Your Listing Type
The Service type is designed for things can have multiple bookings a the same time, like a storage unit. The Rent type is for things that can only have one booking at a time, like a 1 bay heated garage.
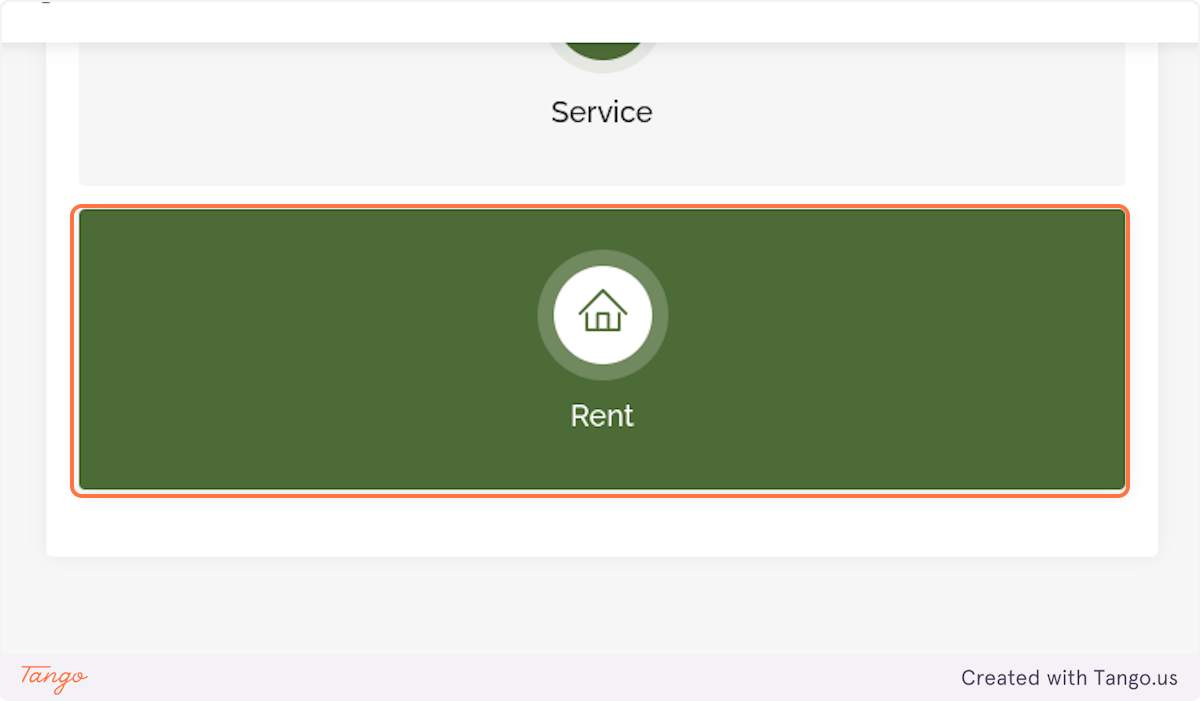
2. Click on Rent
We will walk through the Rent type here
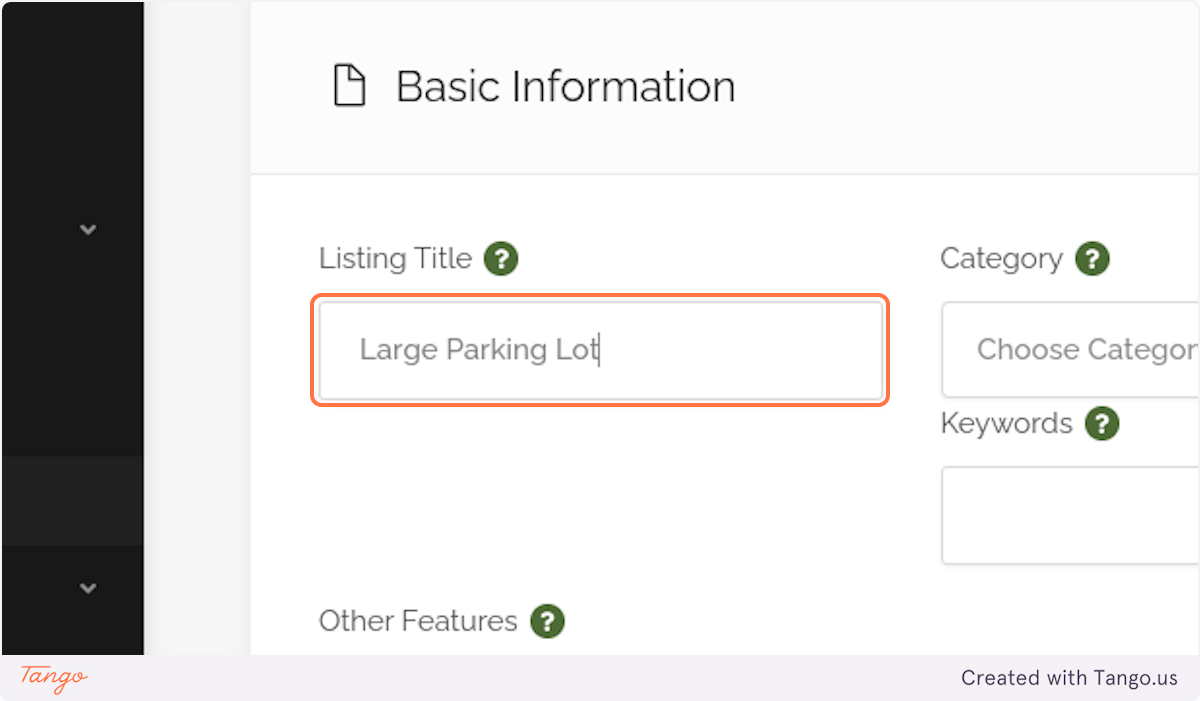
3. Fill in the "Listing Title"
Be short and try to emphasize the unique aspects of your property
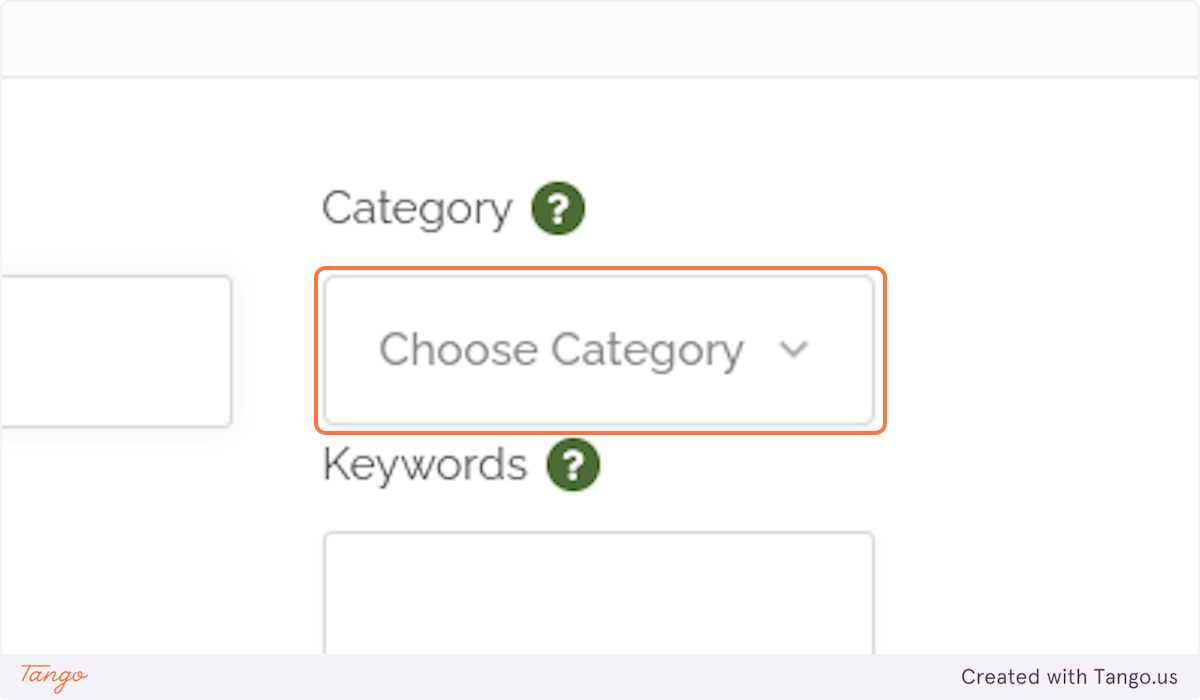
4. Click on Choose Category
In our case, we will choose "Parking Lot"
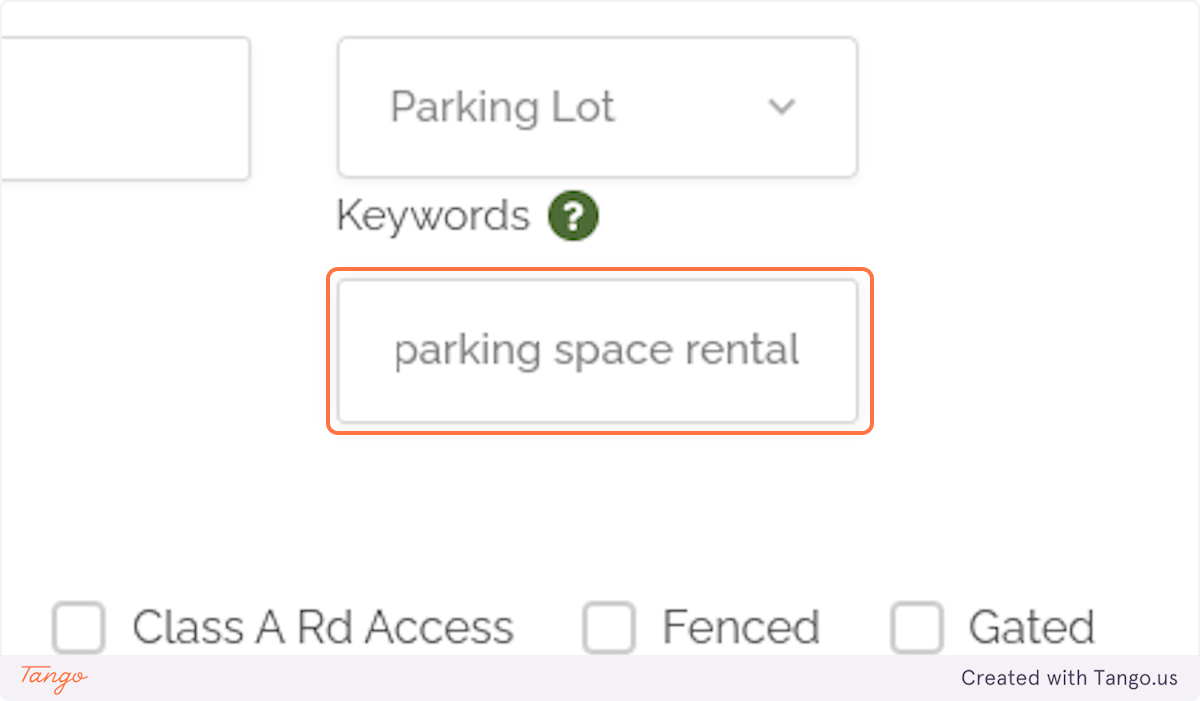
5. Fill in Keywords
Good keywords give your listing a better chance of showing up in search engine results
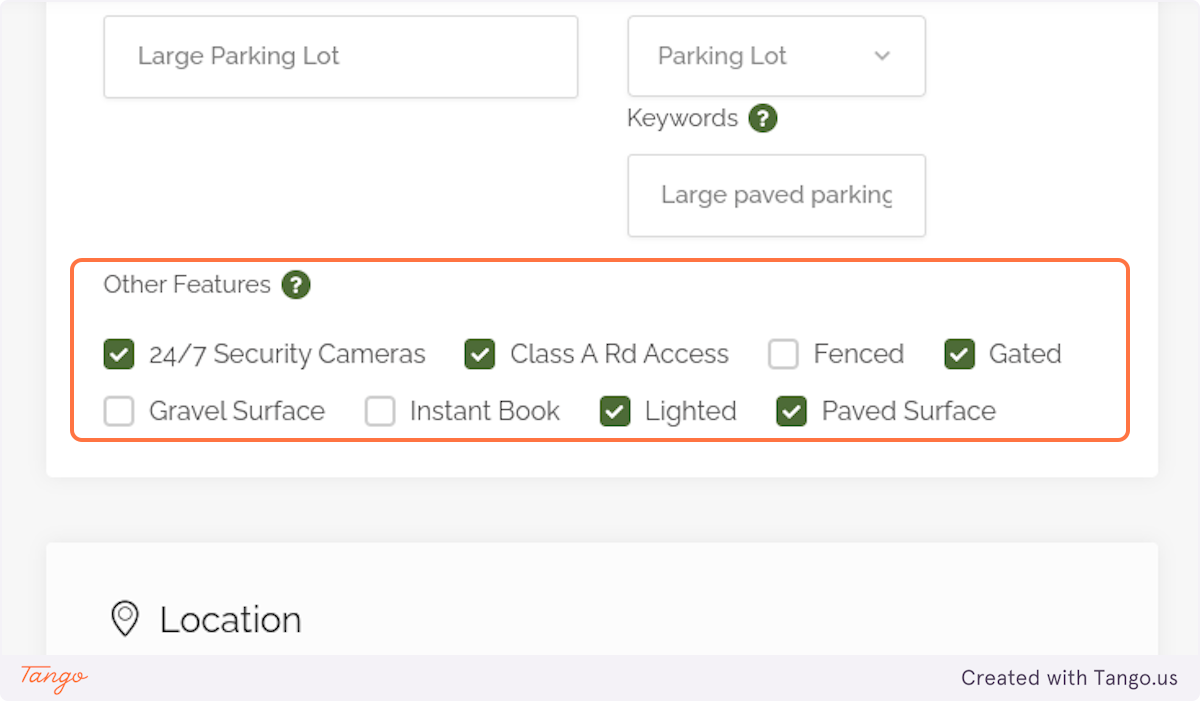
6. Select all applicable Other Features
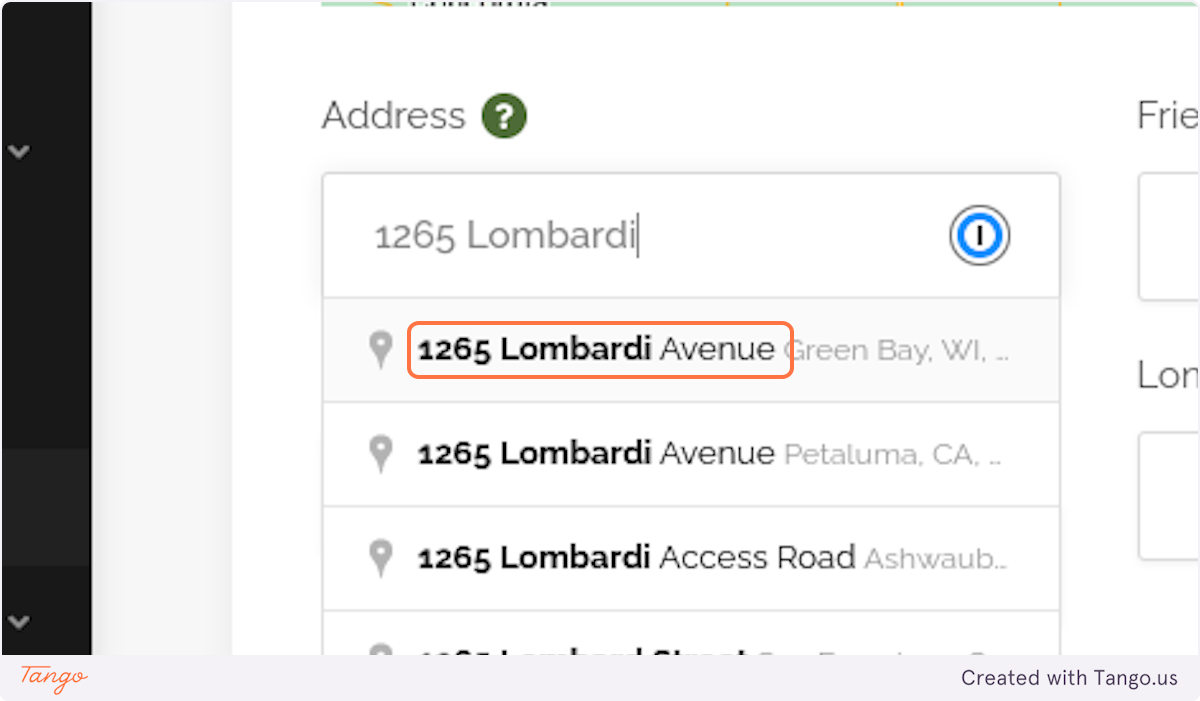
7. Fill in the property address
If your property does not have an address, that's ok. Leave the field empty for now, and go to the next step.
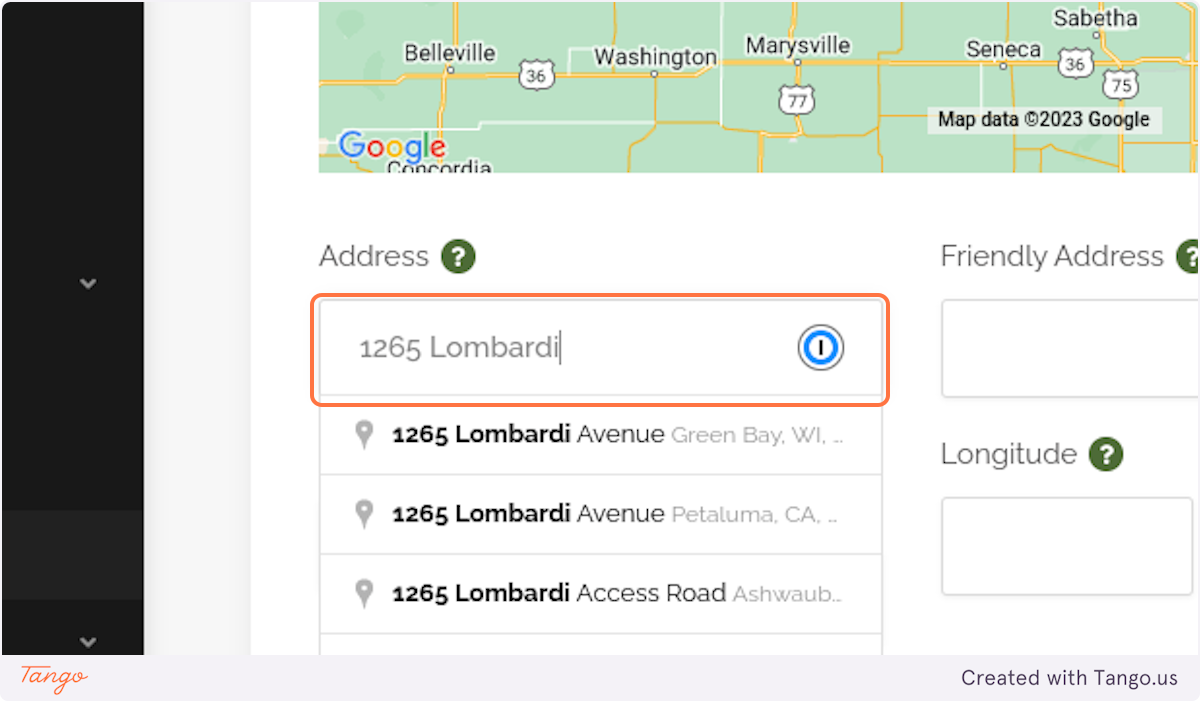
8. Click on the appropriate autocomplete address
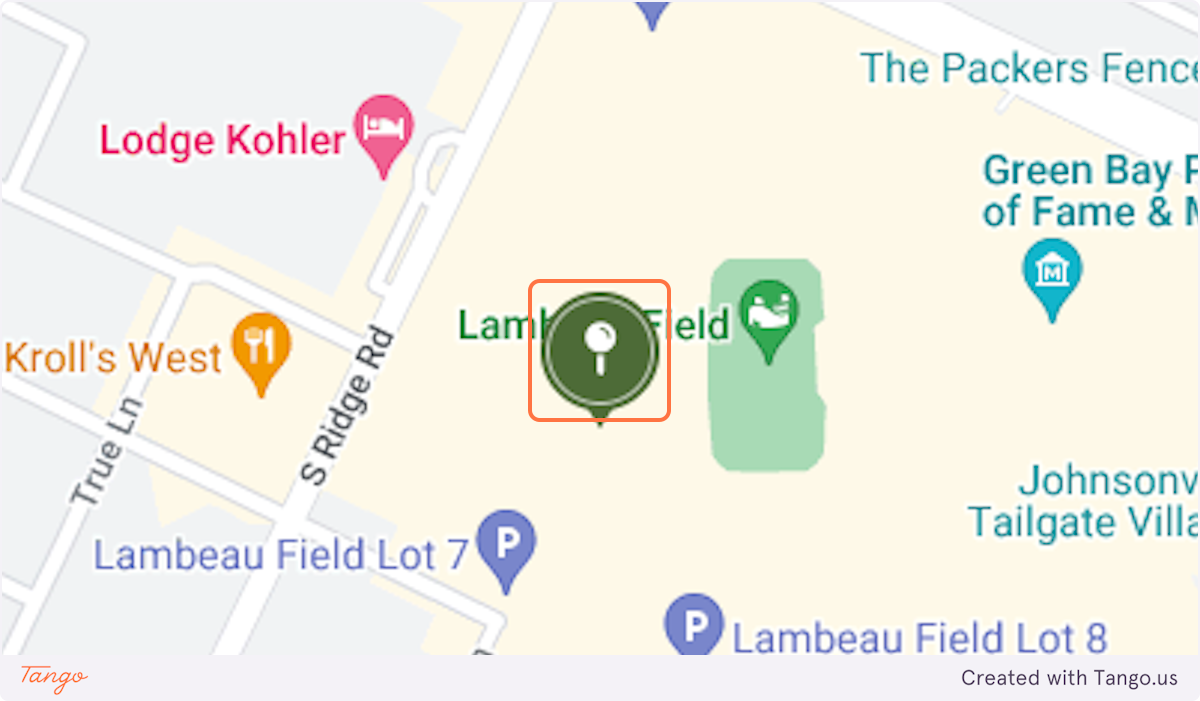
9. Adjust Map Pin
Using ctrl + scroll, zoom in on map pin to verify correct placement. Drag the pin to the exact location, if needed.
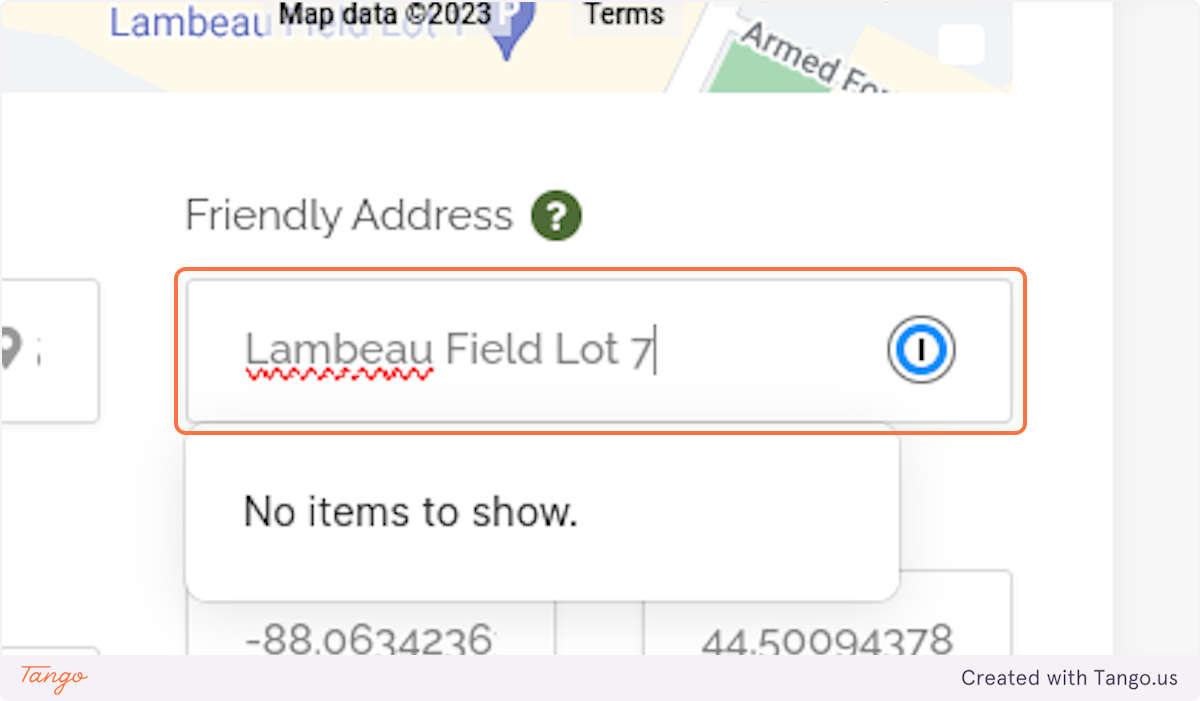
10. Fill in "Friendly Address"
The "Friendly Address" will be publicly facing on your listing. This will allow guests to quickly get an idea of where your property is. We recommend using a simple version of your exact address or short descriptor. For example, US-1, Anytown instead of 12345 US-1, Anytown.
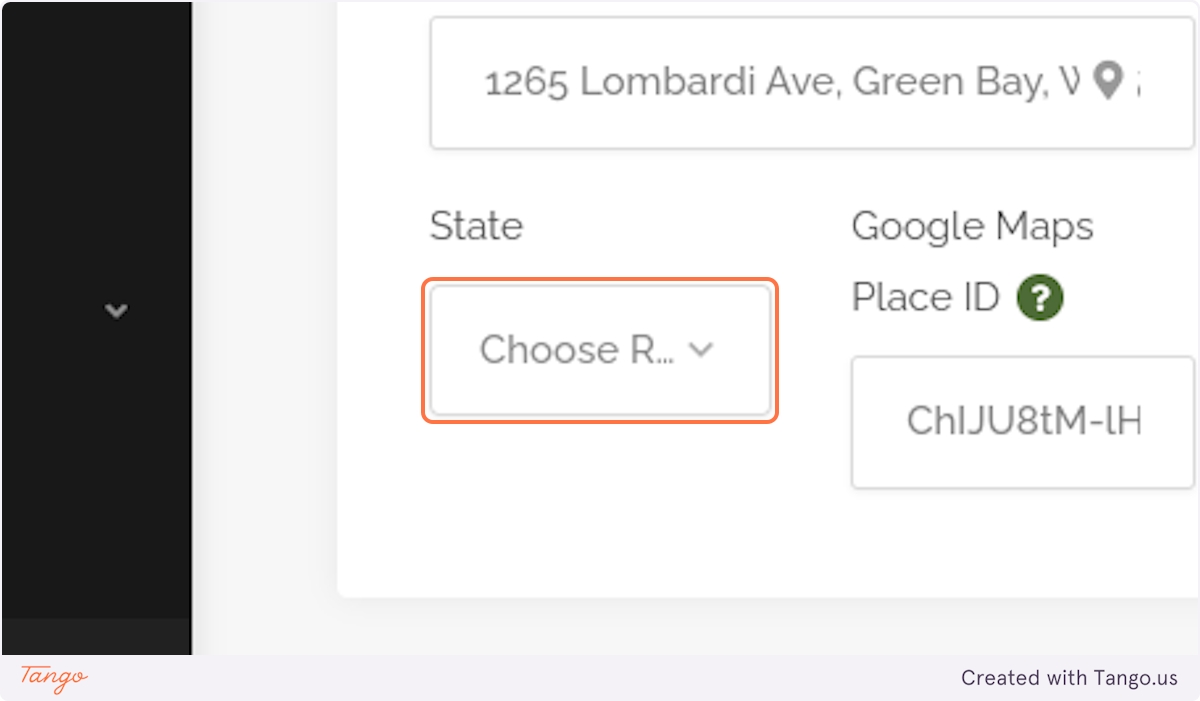
11. Choose State
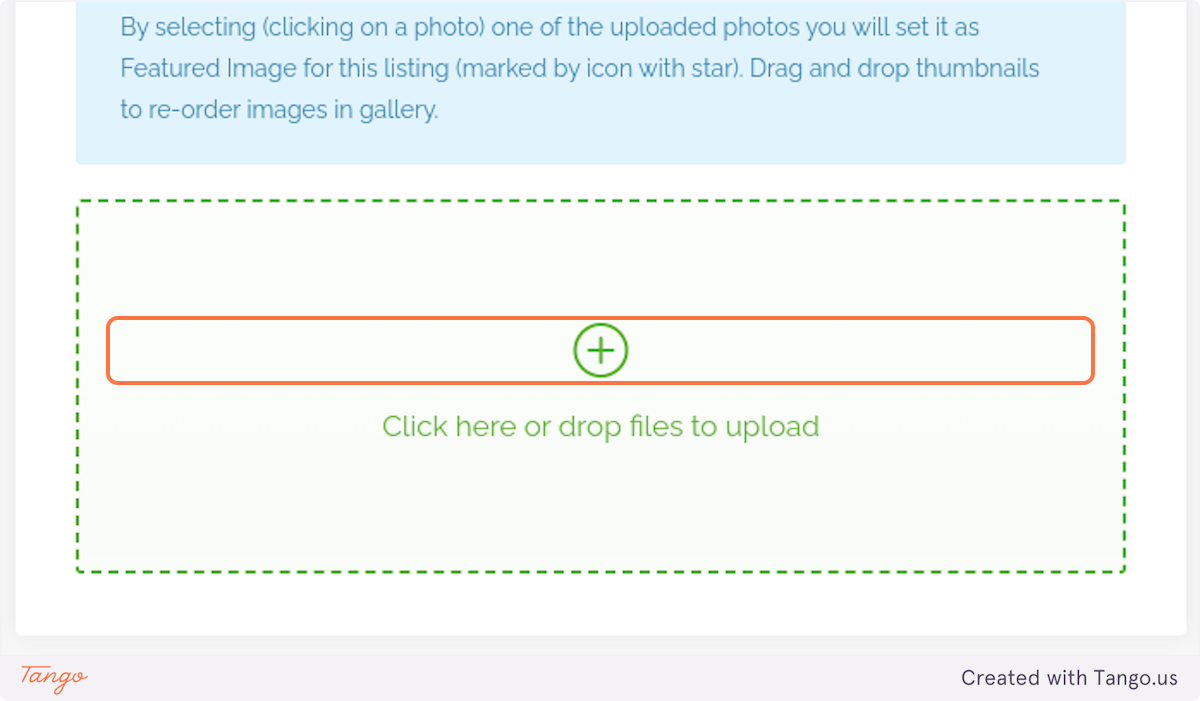
12. Upload Property Photos
Add as many as 10 photos per listing. High quality images will make your listing more attractive to potential guests and reduce the number of questions that you will receive about your listing.
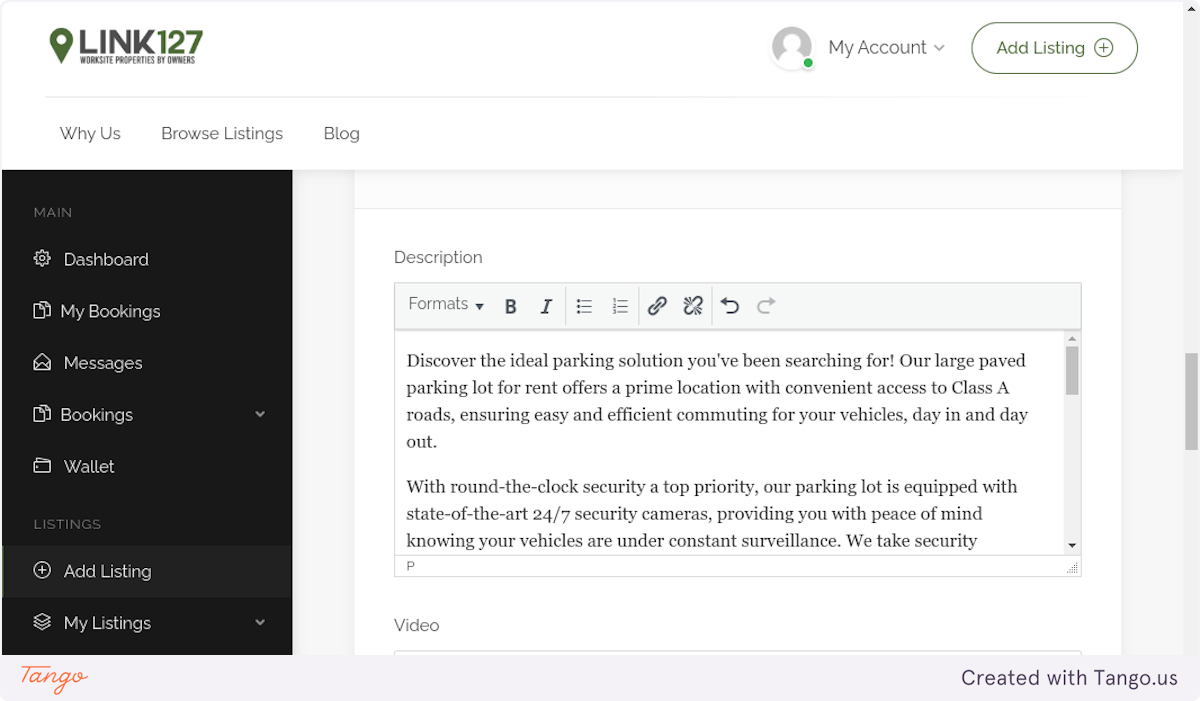
13. Fill in your Property Description
This is your chance to really sell your property. Emphasize the unique aspects of your property, and think through what would be important to your potential guest. Also, list any "house rules" or conditions that your property has.
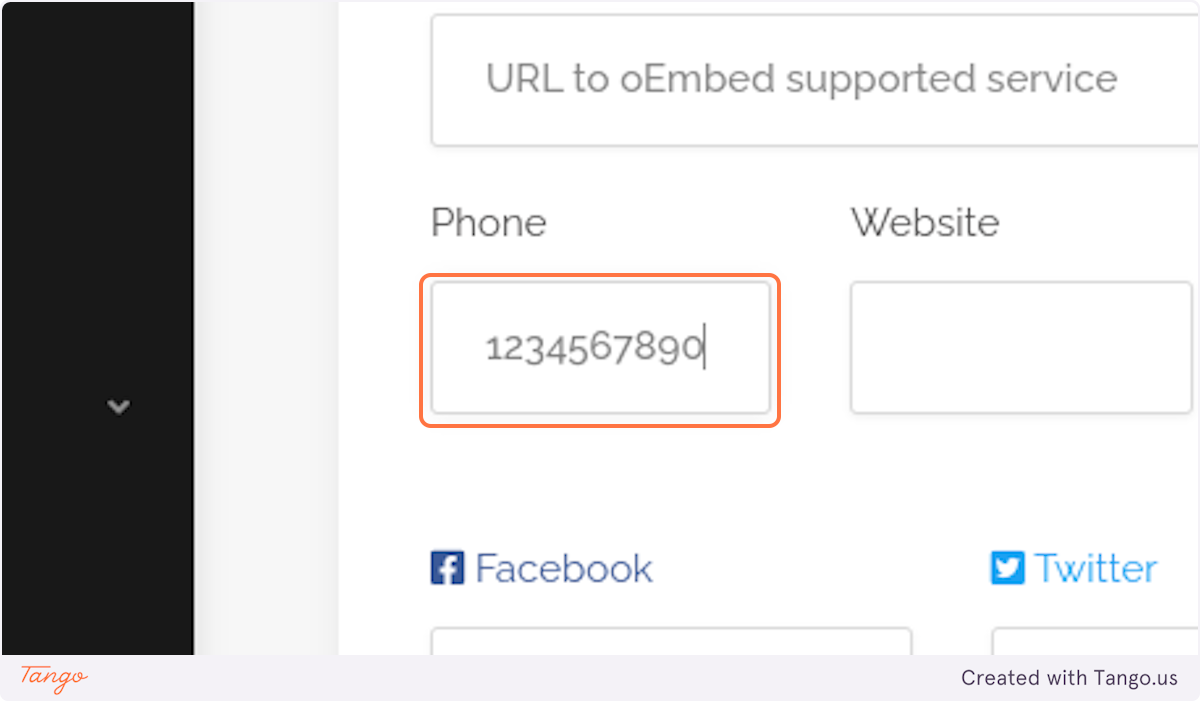
14. Fill in your Phone Number
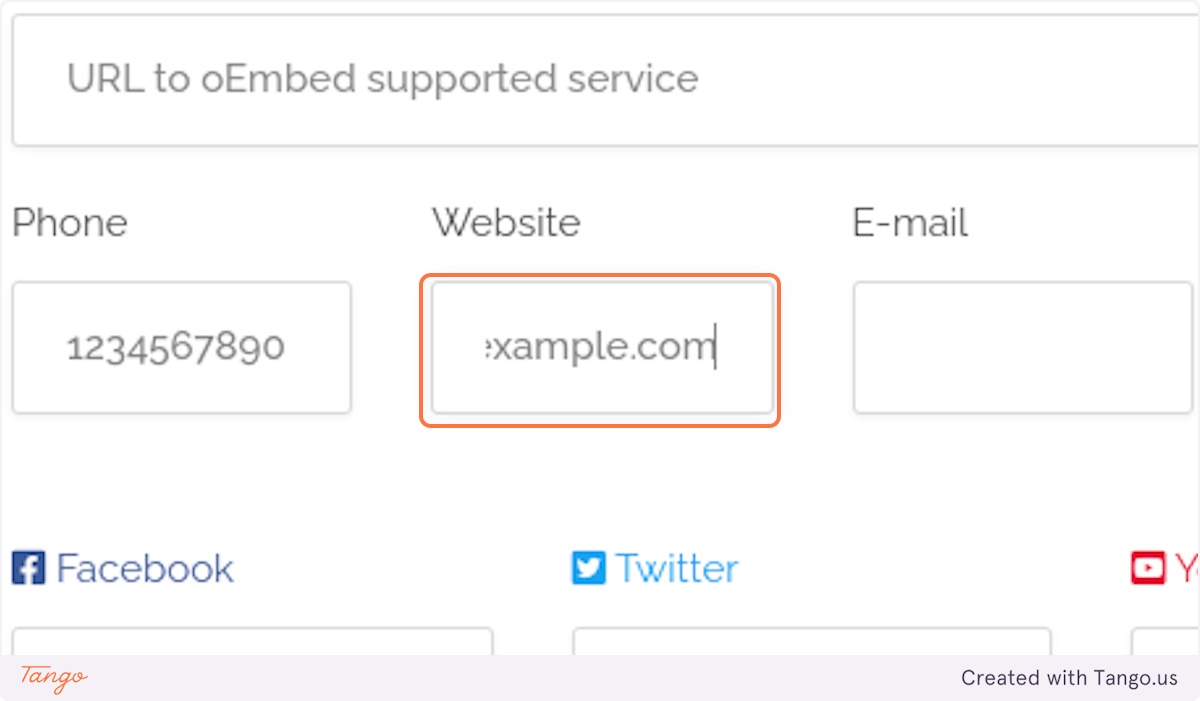
15. Fill in your Website, if applicable
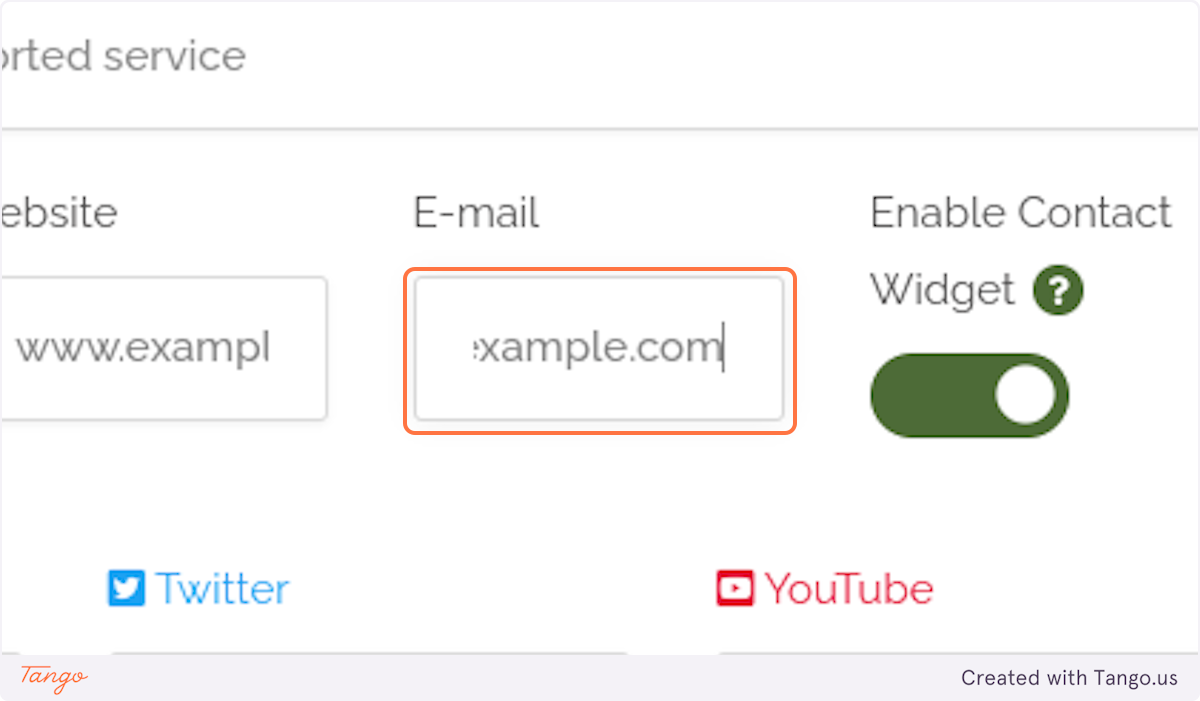
16. Fill in your Email
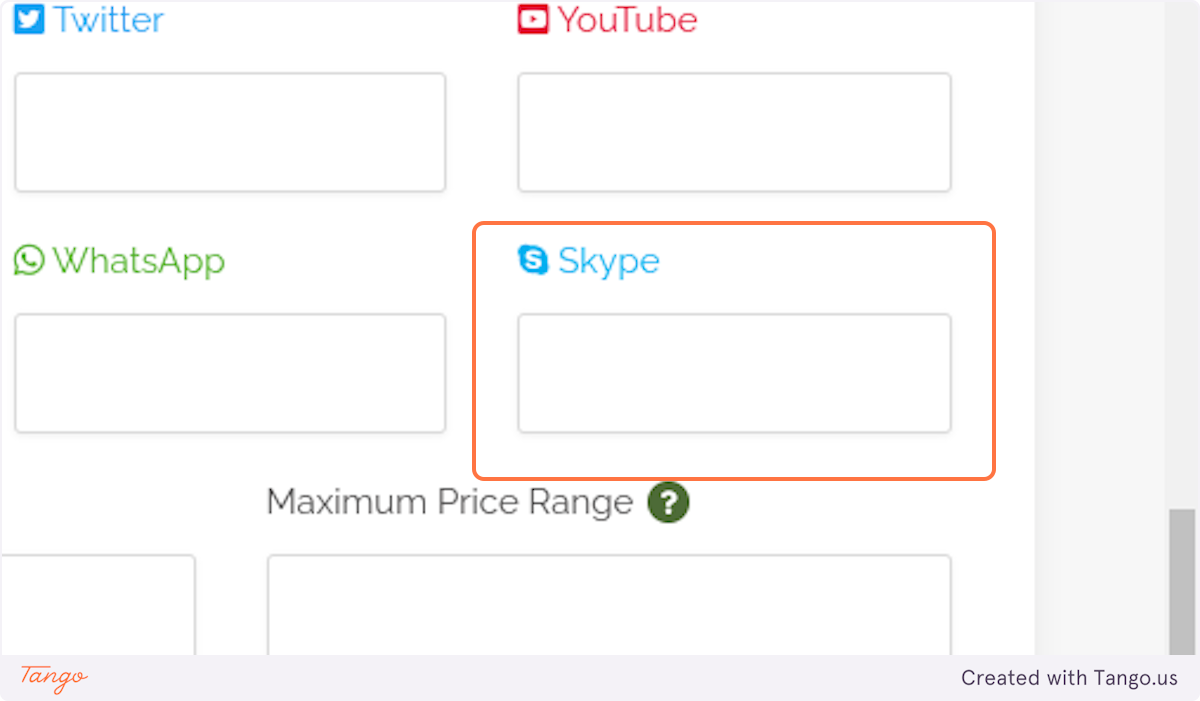
17. Optional - Social Media Accounts
Fill in any social media accounts you want associated with your listing
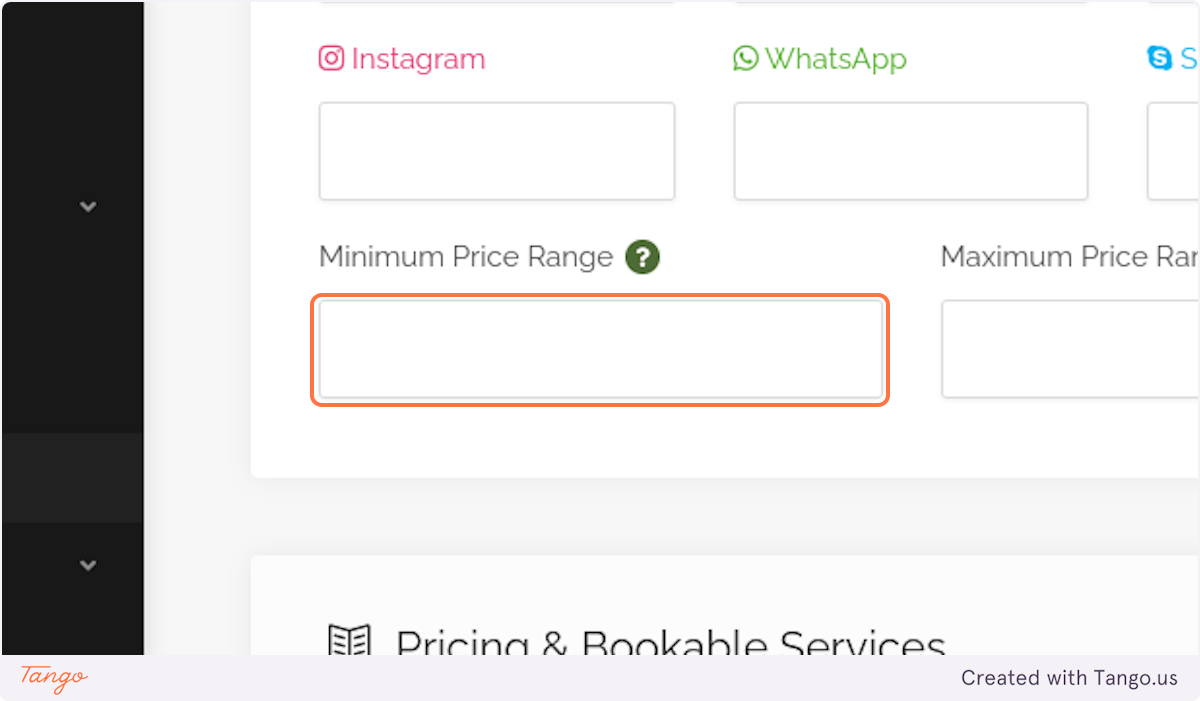
18. Optional - Price Ranges
The Minimum and Maximum Price Ranges populate in a banner on your listing image, and is not connected to the booking price of your property. This is an informational field only
19. Optional - Pricing & Bookable Services
Enable this option if you have any additional services available with your property.

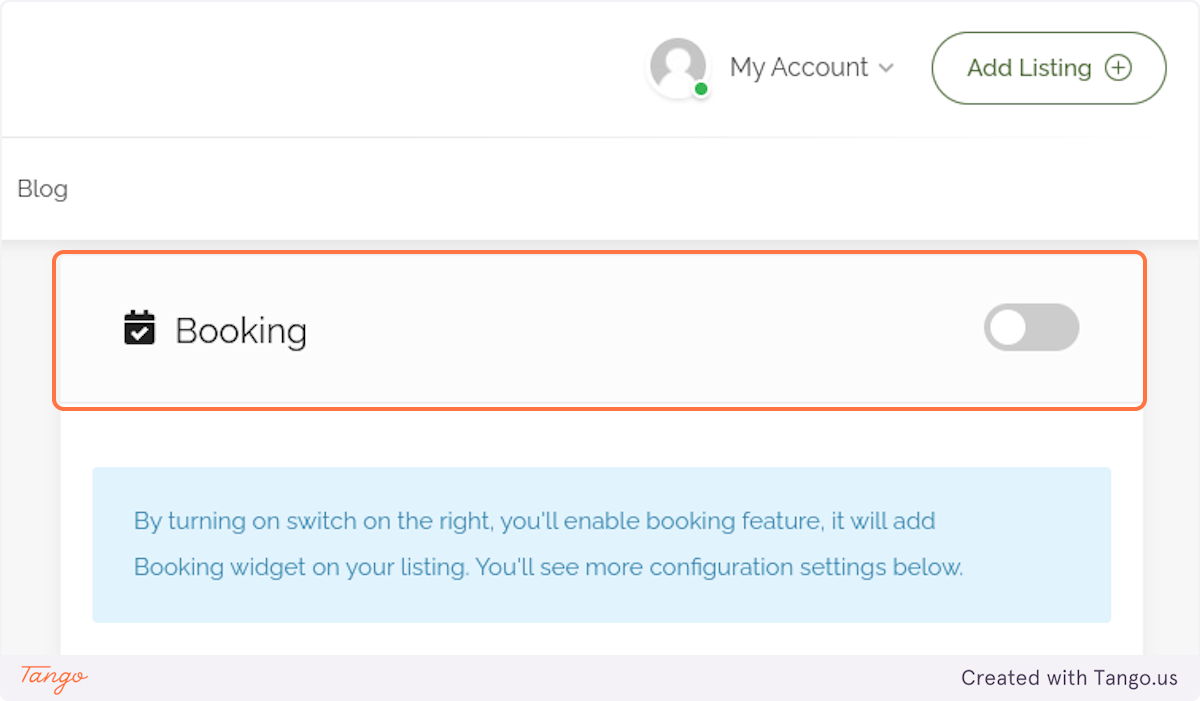
20. Enable Booking
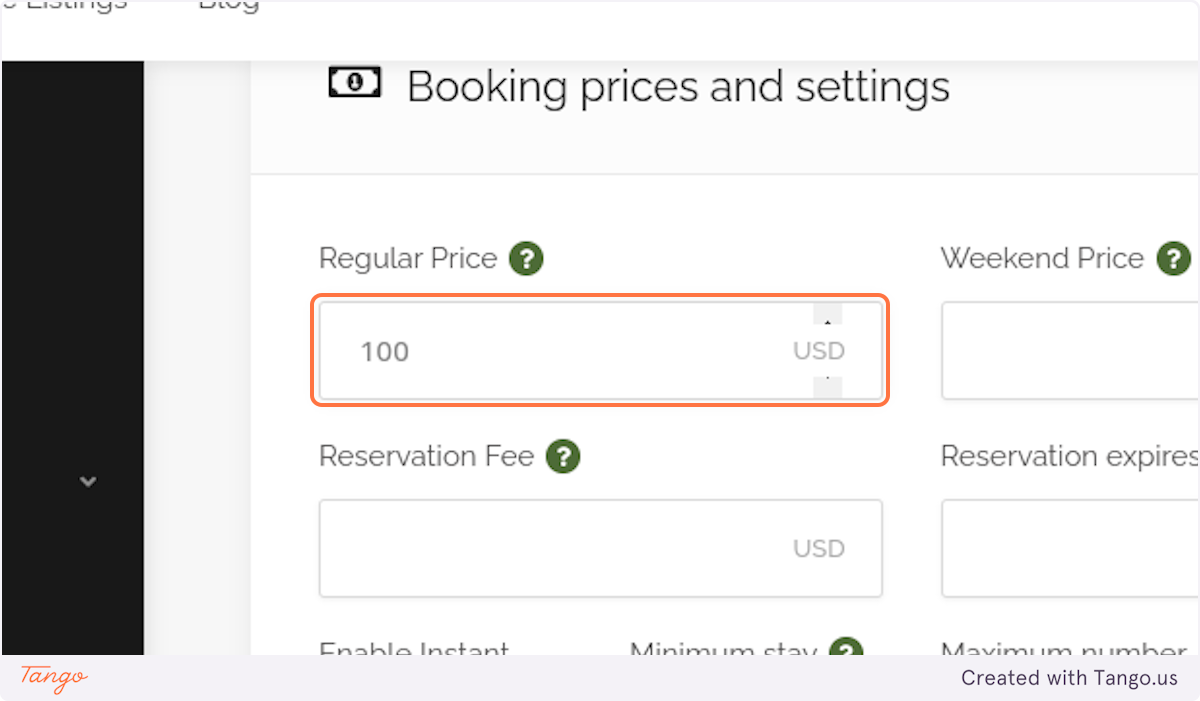
21. Fill in "Regular Price"
This is the per day price for Monday through Friday
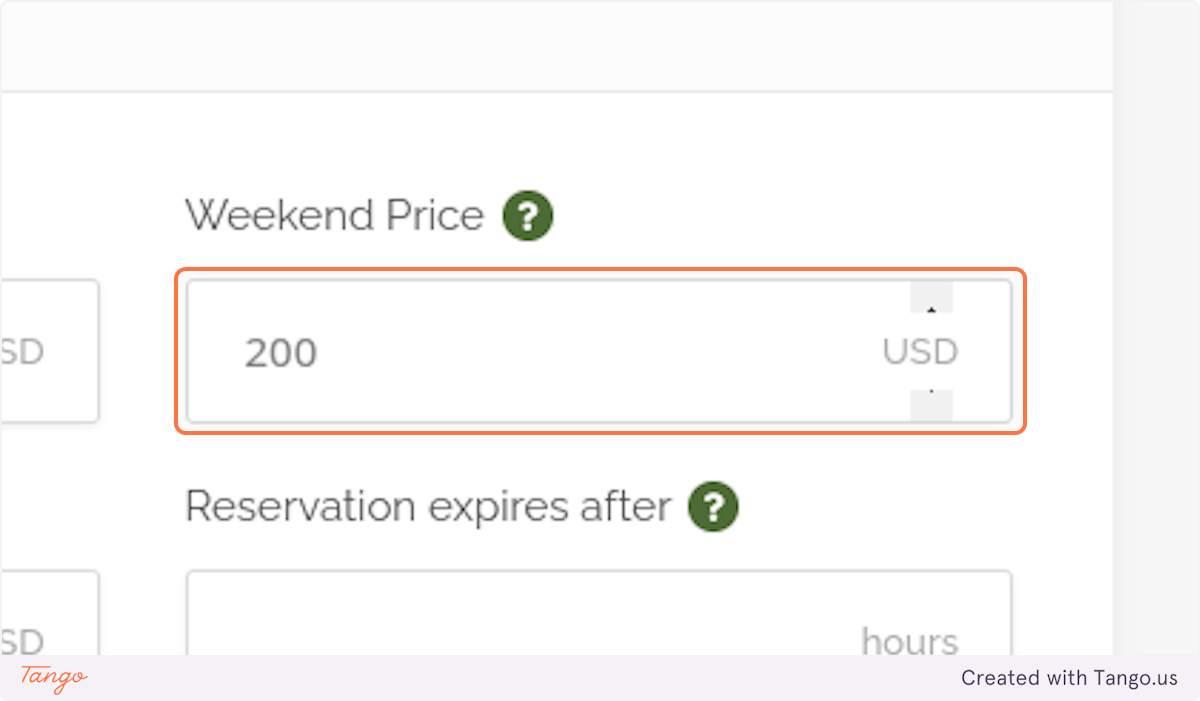
22. Fill in"Weekend Price"
This is the price for Saturdays and Sundays
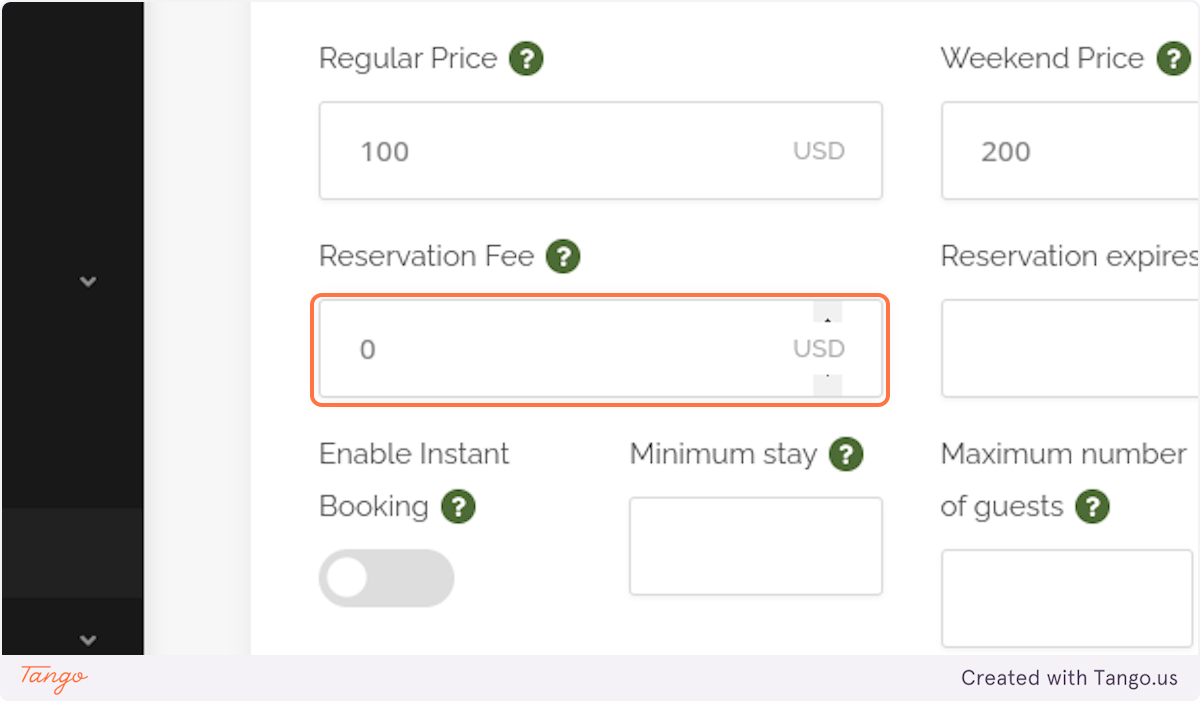
23. Optional - Reservation Fee
This is a fee added once per booking.
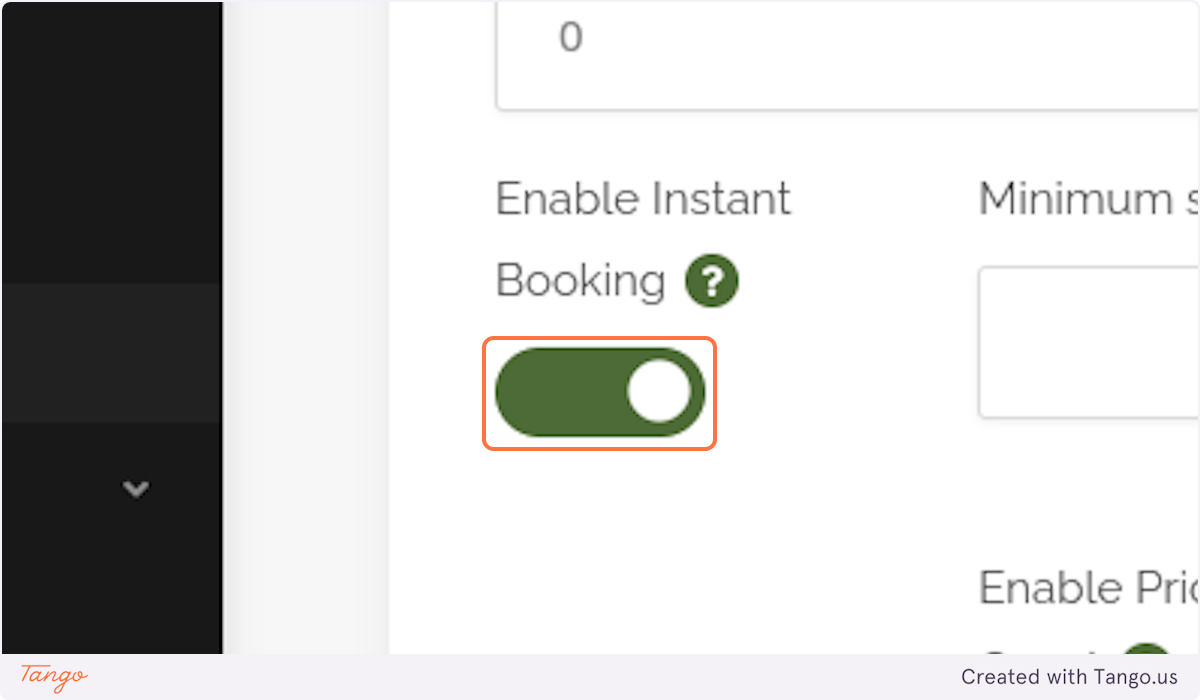
24. Optional - Instant Booking
If you want to review a booking before it is finalized, do not enable Instant Booking. Guests do favor listings with Instant Booking
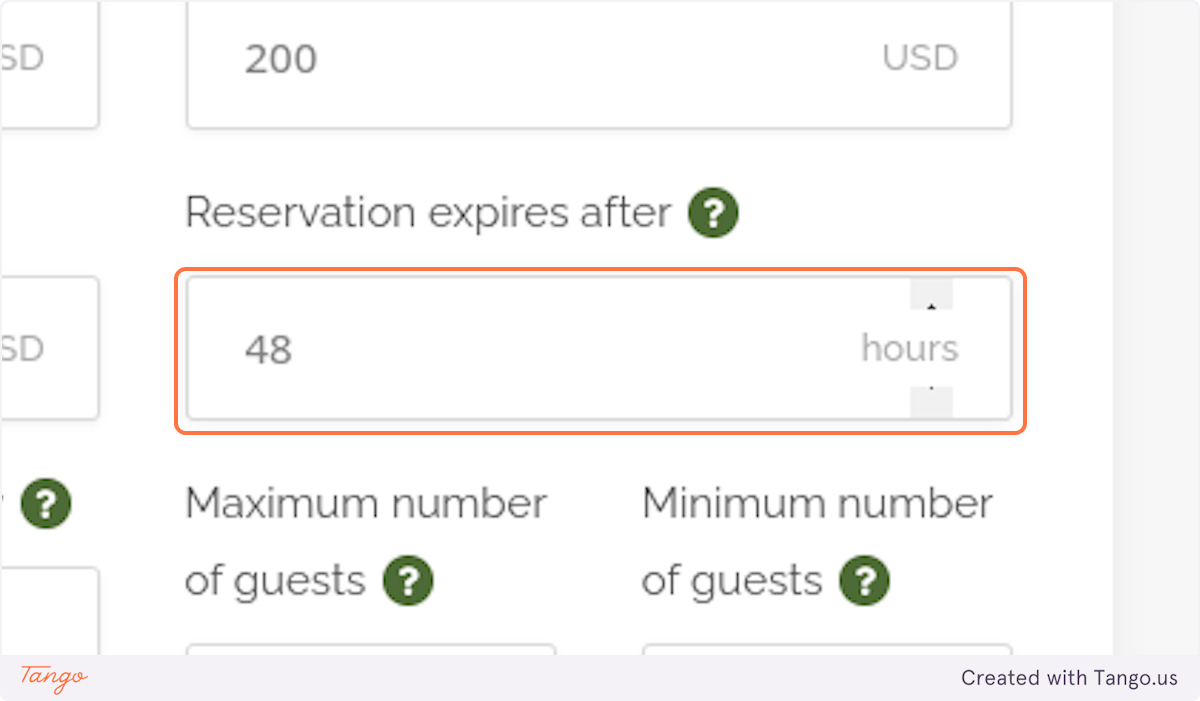
25. If Instant Booking is NOT Enabled, Fill "Reservation expires after"
This is the number of hours you have to review and approve a booking request. If not approved in this time window, the request will expire and you may lose the guest.
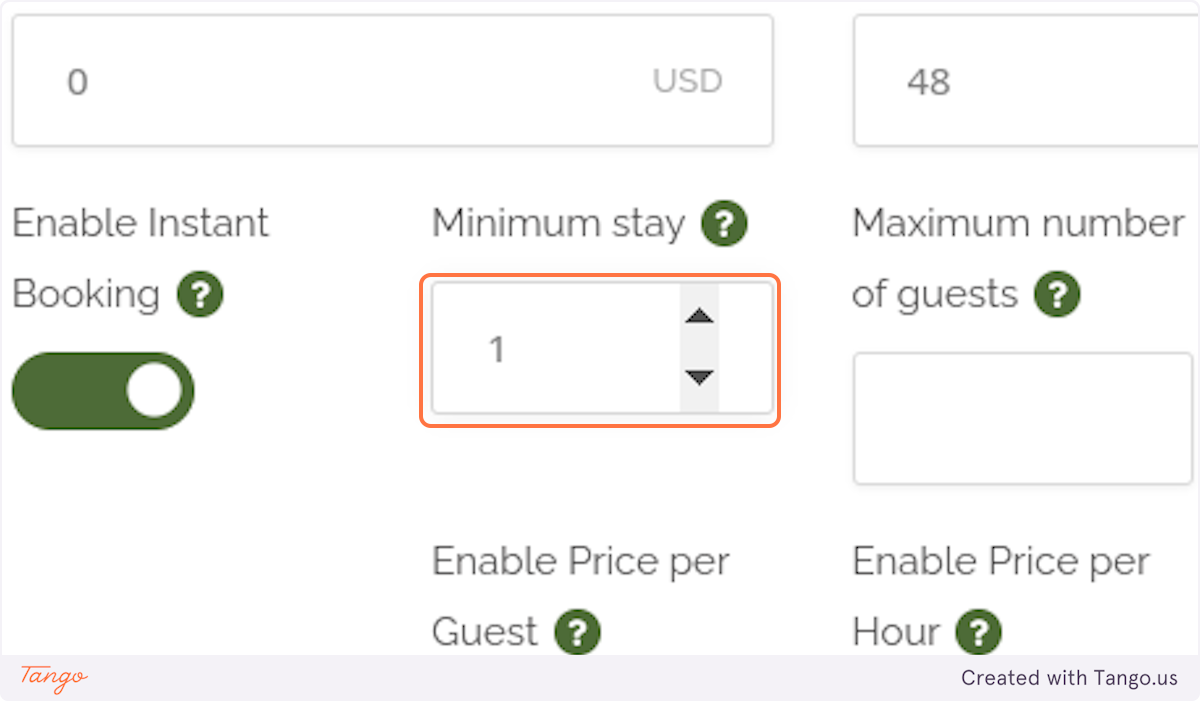
26. Fill in "Minimum stay"
Enter the minimum number of days required to book your listing.
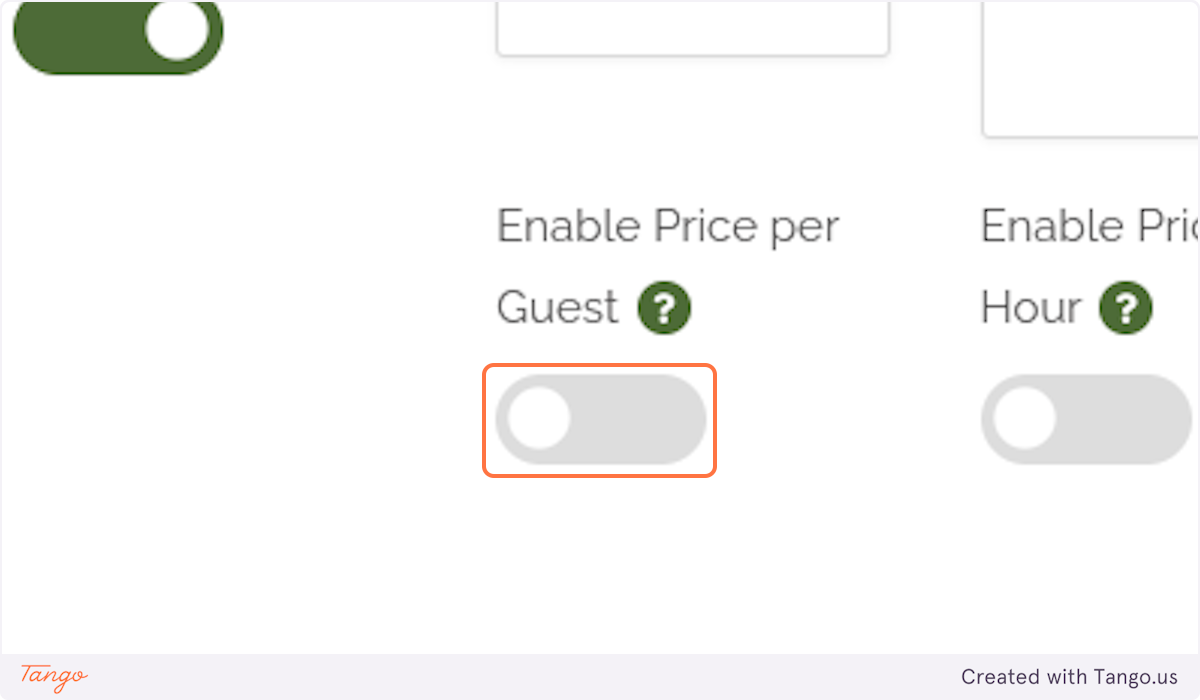
27. Optional - Price per Guest
Make sure to test your listing if you enable this option.
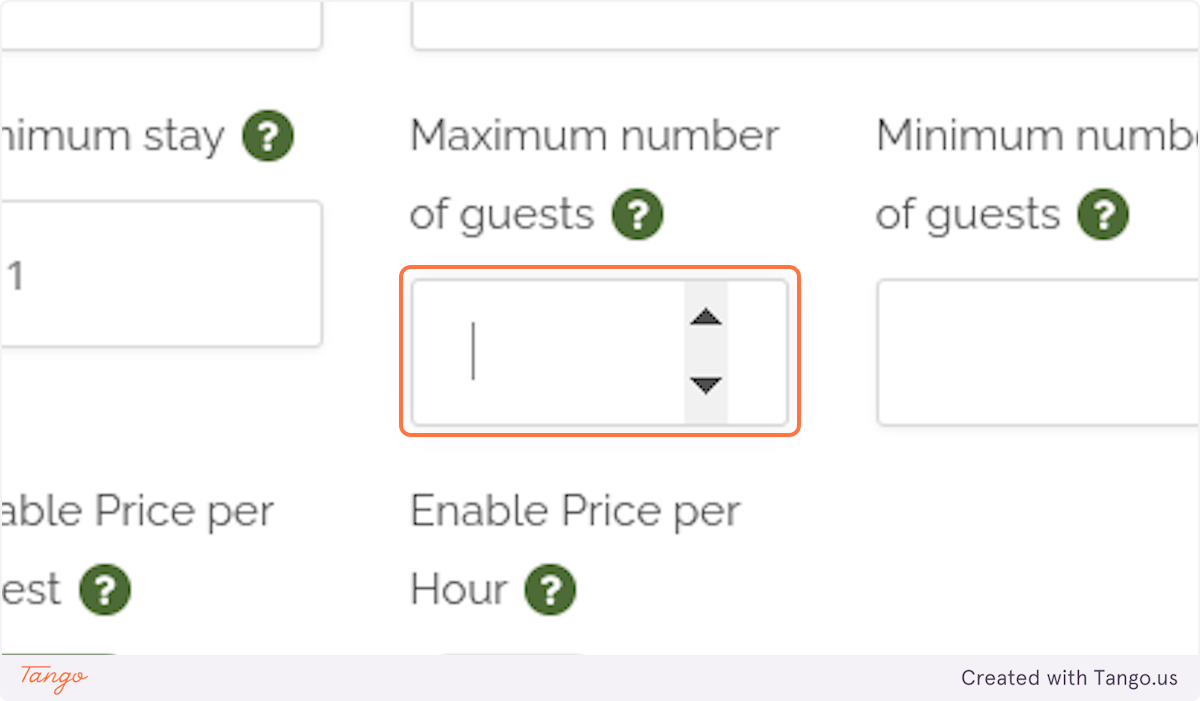
28. Optional - Number of guests
This is only needed if "Price per Guest" is enabled.
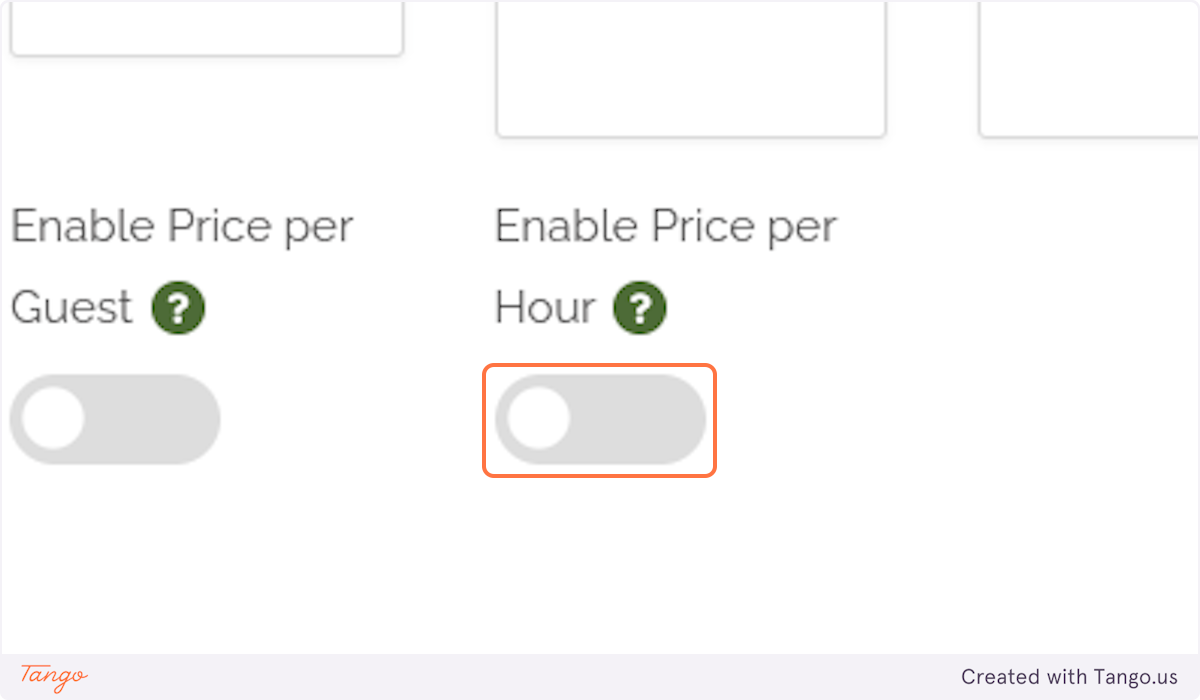
29. Optional - Price per Hour
This option only applies to the Service listing type.
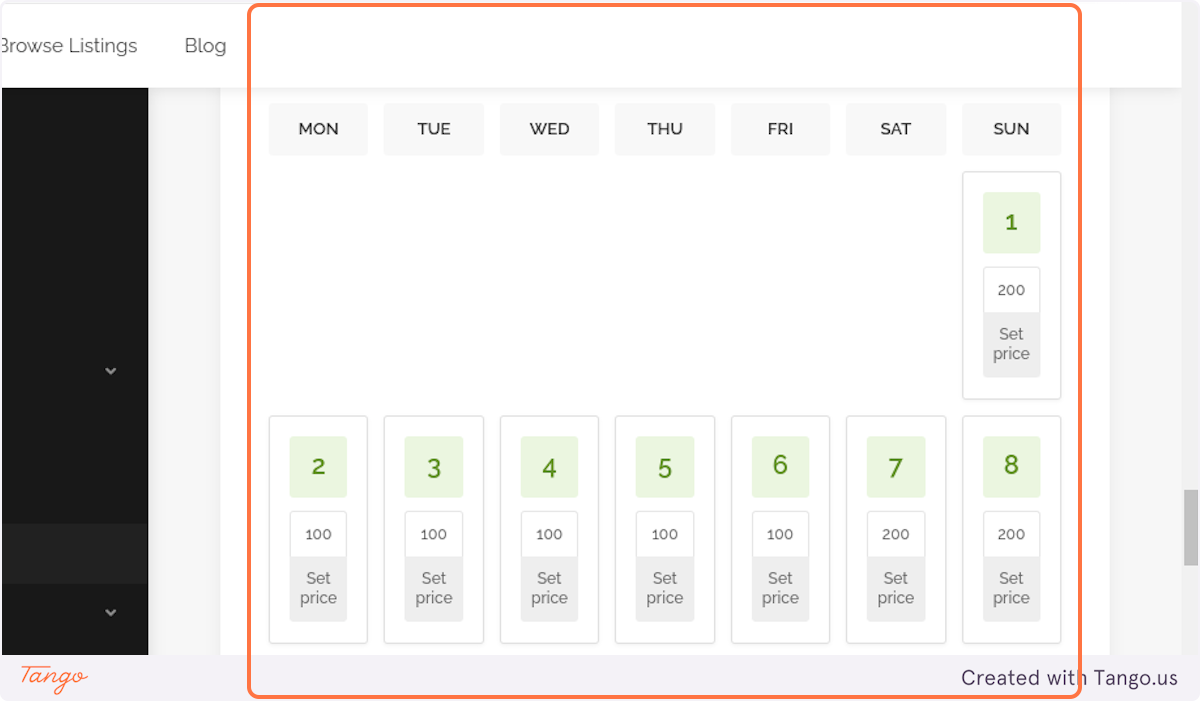
30. Review your Calendar
The Calendar allows you to adjust your listing price on a specific day or to mark the listing unavailable. Just click on the day to mark it unavailable.
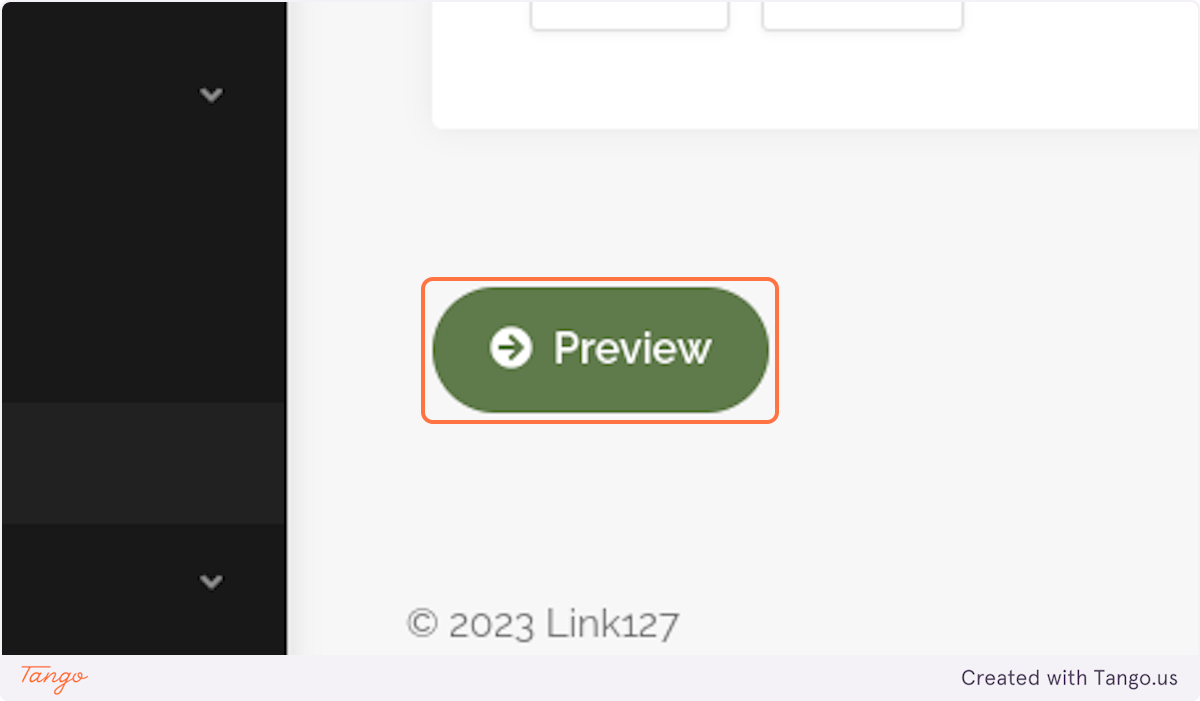
31. Click on "Preview"
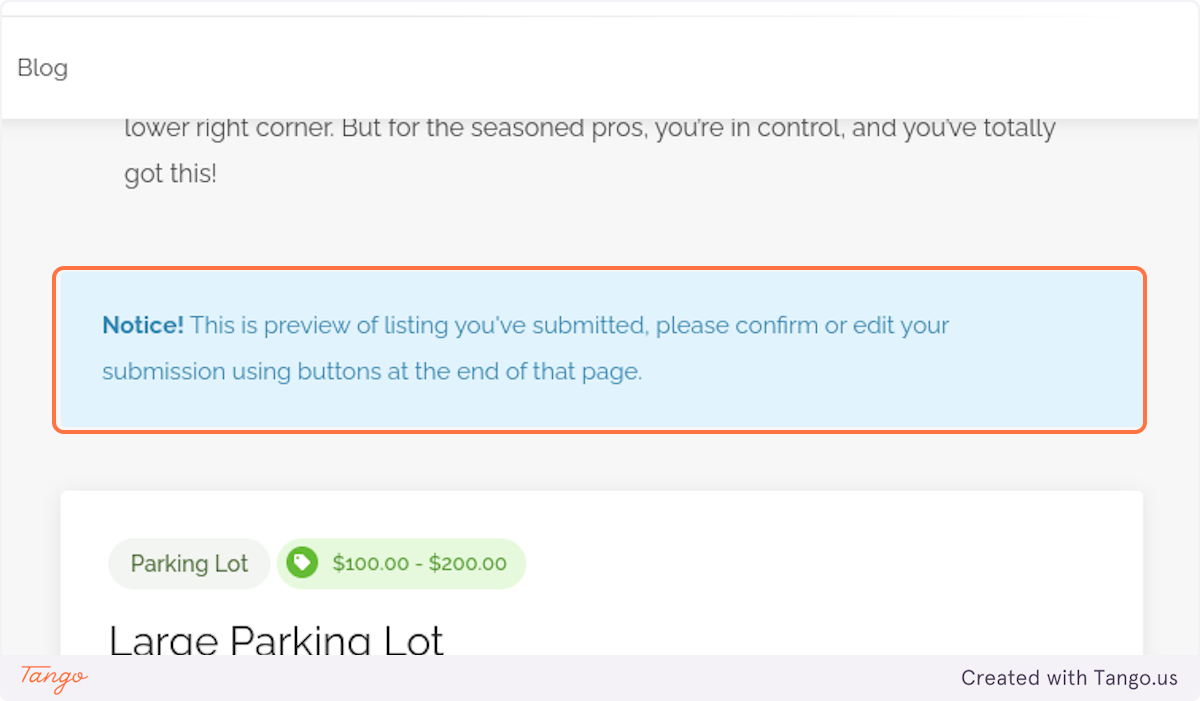
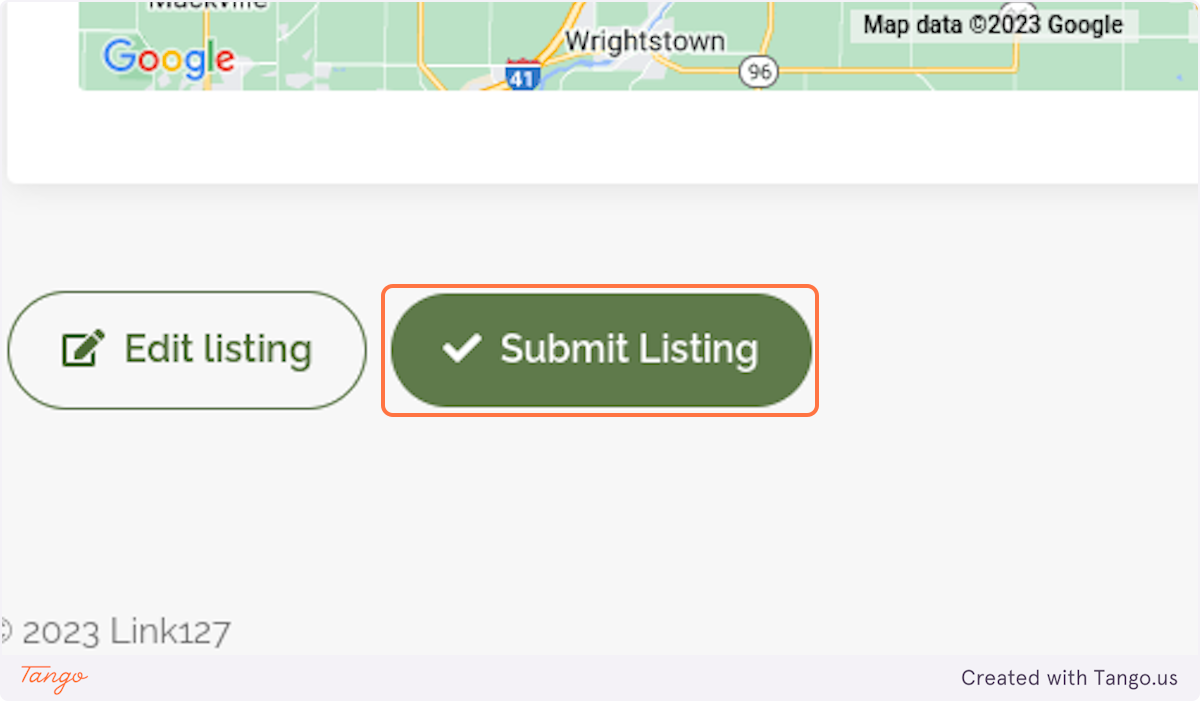
32. This is preview of listing you've submitted, please confirm or edit your submission using buttons at the bottom of the page.
33. Click on "Submit Listing"
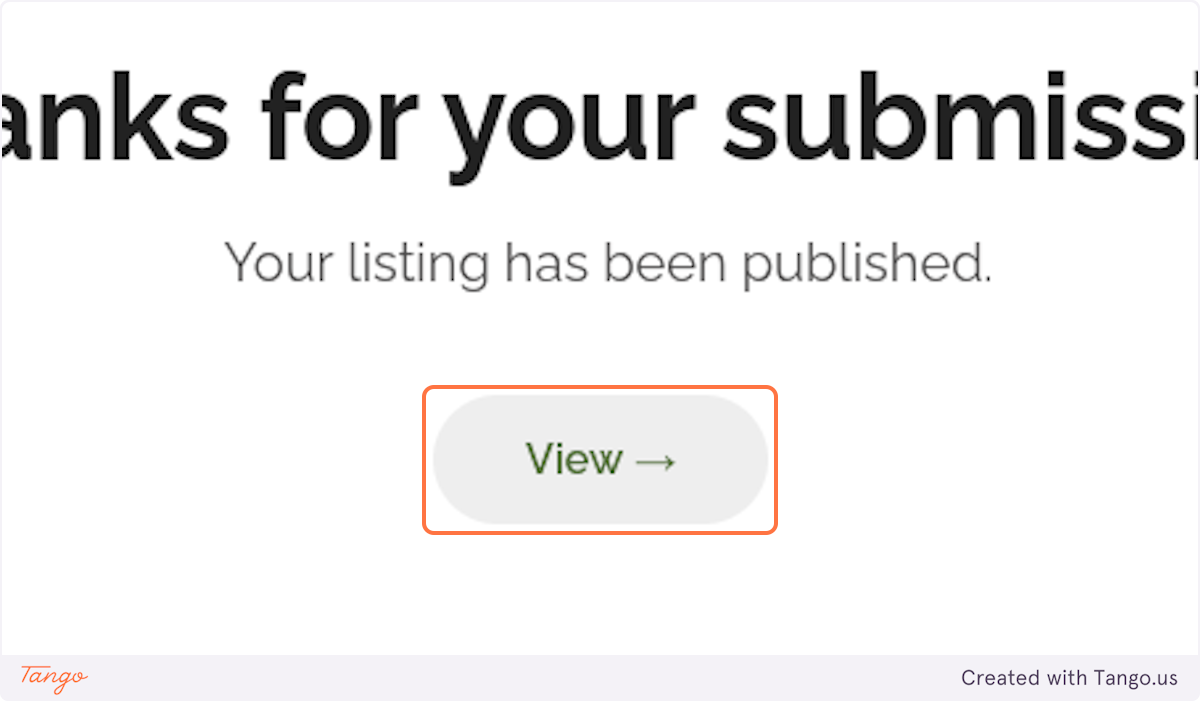
34. Congratulations! You did it!
After your listing is reviewed, it will be published. Please review it to make sure it looks just how you want. You can view this demo listing at https://www.link127.com/listing/demo-large-parking-lot/